(Don't forget to check my previous post for "what you need" to create your Beatrice inspired button necklet.)

- Clear some space on a table with a plain cover so that you can focus on colour and design and make sure you have your coffee, tea or wine at hand.
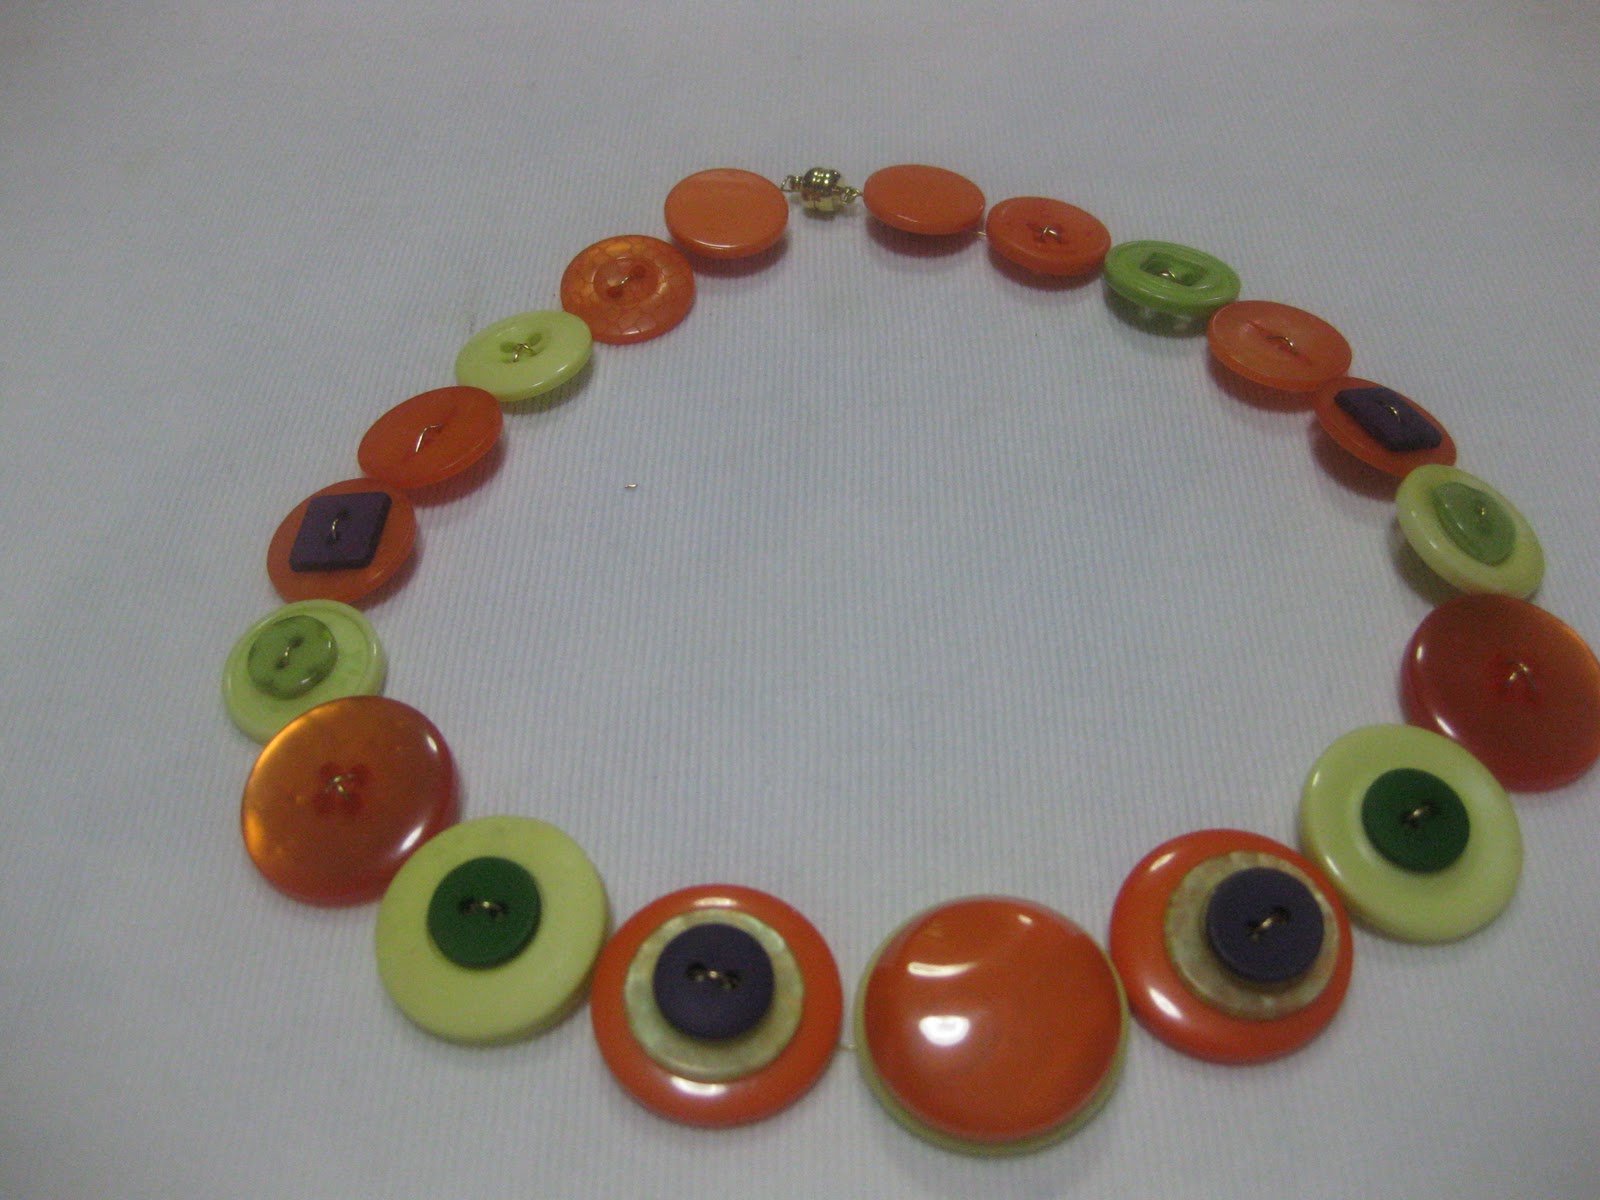
- Select what I call a :"feature button". One which is large possibly textured or has character about it. You can also build UP a variety of size and/or colour to create your own feature button. I have selected a raised dimpled orange button to sit on a slightly larger lime green button to feature my main 2 colours.
- Then like a jigsaw manouvre buttons to create a line decreasing in size and change in colours. My 3rd colour is usually used as a highlighter and sparingly. I often build UP using different sizes/shapes and sometimes same or different colours. I also use 4 hole buttons for creating texture with wire.
- I always consider texture, light and dark, graduating to smaller sizes and with each side of the necklet being roughly symmetrical. However I love throwing in something a little off beat, and the opposite buttons do not have to be exactly the same, Use what you have and have fun with it.
- Lay out your design and measure. This necklet is 44cm in length which is good for both a small and larger framed person.
- I have chosen gold 24guage wire and magnetic clasp to work with the orange.

- For the wire length, I measure a finger tip, arm to nose length + extra for good measure depending on the number of UPs and 4 hole buttons.(about 110cm)
- I find the middle and create my feature button. Always work with the natural curve of the wire. I run the wire between finger and thumb to keep the natural lay. Never let it krink as it creates a weak point that could later snap.
- Work as you prefer. I usually work one side first to get an idea of the design - does it work or do I need changes.
- To build UP as done in the second button, I used a large orange, a smaller green and a darker small purple. To build, thread the wire through the 1st hole of the orange button, then the first of the green, then the first of the purple. Then thread back through the 2nd hole of the purple to the green and finally the orange. On the rethread hold the combination firmly so that they sit well on top of each other.

- This is vital and I found it easier to show you on the third button as it would have been info overload when describing UP on the 2nd. However the positioning of the large orange on the 2nd before you build UP is very important.
- After you have placed the button hole on the wire position the new button touching the previous. I often turn the buttons over to see this. Then to set, pull the wire back in line with the already created buttons. Hold firmly while doing so.

- Continue the Up of the 3rd button.
- Ensure you work with the lay of the wire and keep a clean curve.
- After threading down through the 2nd holes, I run the wire underneath to keep the line of the loop as I pull through. This helps prevent the kinking of the wire when the holes of the UP buttons are not in line.

- Lay out the necklet and measure. You may have to use additional buttons to gain axtra length if needed.
- Trim the wire so that you have about 15 -20cm tails to work the clasps.

- Turn the necklet over to secure the clasps
- Hold the clasp firmly into position as you thread the wire.
- To set the position, pull back the wire to the line of the necklet.
- Creating a small loop, circle the wire around its stem from the last button at least 4 times. This takes practice to ensure the clasp sits flat. Remenber it is magnetic and will want to flip back on the wire. Setting it with a short stem is the key and the loops around the wire stem will be under the last button.
- Thread the wire back through the last button hole to secure and cut the wire close the the hole. this is where you may need your pliers as the space is quite restrictive.
- Repeat on the other side ensuring the wire stem from the last button hole is the same


Any problems please contact me on my blog or email.
Enjoy and use what you have to create a unique piece of jewellery
Great tutorial Chrissy. Here's a page of links to blogs you who love peoples submissions of tutorials if you'd like to share it further. http://chantalvincentart.blogspot.com/p/links.html
ReplyDeleteLOVE your necklaces Chrissy. I have a bit of a button fetish at the moment too, although sadly no travelling round OZ for me. Looking forward to seeing more!
ReplyDeleteGorgeous!!
ReplyDelete